It’s time to install the upgrade pickups and electronics in my Bullet Strat®. The process here is exactly the same for any Stratocaster or Strat-style guitar.
The Bullet Strat comes with a white single ply pickguard and ceramic magnet pickups. They’re not bad for the price of the guitar, but upgrades can turn it into something special.
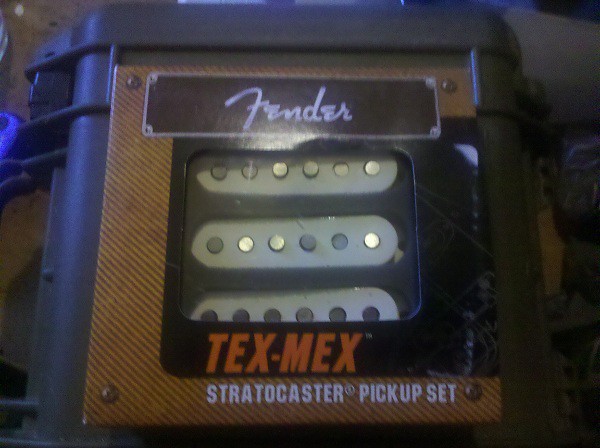
I decided on a set of genuine Fender Tex-Mex pickups for this project. This is a nice set of Alnico magnet pickups wound for a “Texas blues” vibe, with a hotter than normal bridge pickup. These are the same pickups that come stock in the Jimmie Vaughan artist model Strat. I picked them up online for $60, including shipping. I won’t say what vendor they came from; I wasn’t happy with their service (shipped 6 days after ordering), or the fact that they did not provide tracking information. A simple Google shopping search should turn up similar pricing (stick with larger retailers).
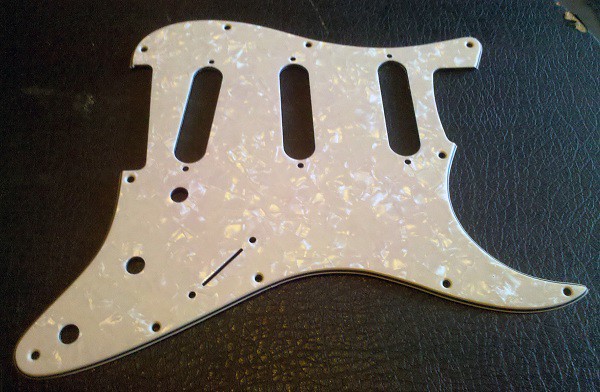
I’m also replacing the plain white pickguard with something a bit more attractive. I opted for an “aged pearl” three-ply pickguard ($11.95 from dragonfireguitars.com). This pickguard really is quite a bit nicer than even some of the more expensive options from other sources.
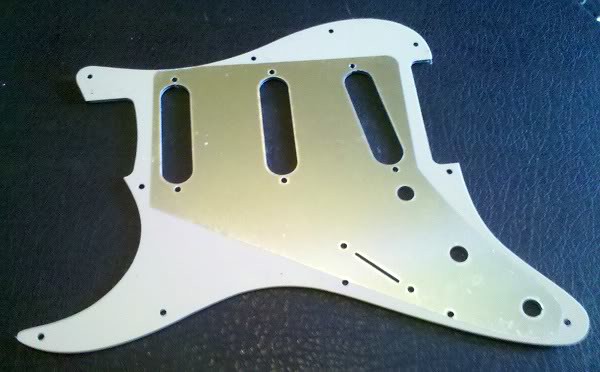
A nice bonus feature with this pickguard is the generous shielding on the back. Combined with the copper foil I applied to the body cavities, it will help keep out electrical noise.
The stock electronics serve their purpose, but they aren’t very durable. Since everything will be apart anyway, it makes sense to replace the potentiometers (pots), switch, wiring and tone capacitor at the same time. I selected a vintage style Strat wiring kit ($27.95 with free shipping from eBay) consisting of all USA electronic components: CTS 250k Ohm Audio Taper pots, a CRL 5-way switch (original equipment in USA Strats), a Switchcraft mil-spec output jack and enough cloth-covered wire to connect everything.
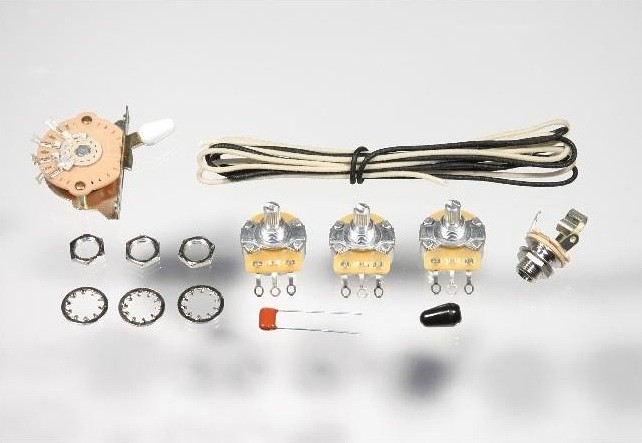
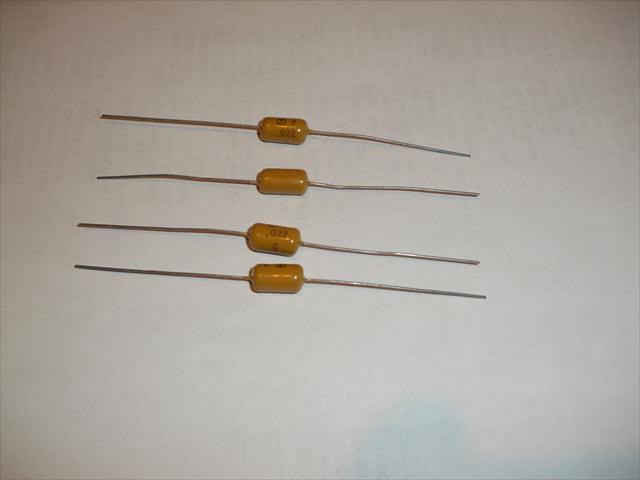
The wiring kit came with a tone capacitor, but I already had a package of new old stock (NOS) low voltage poly/film “mustard” caps that I purchased from eBay a few months ago and I wanted to try them out. Many (perhaps most) people choose a Sprague “orange drop” capacitor – another good choice. The most important thing is the value of the capacitor used. In the case of a single coil equipped guitar, the correct value is .022 mfd.
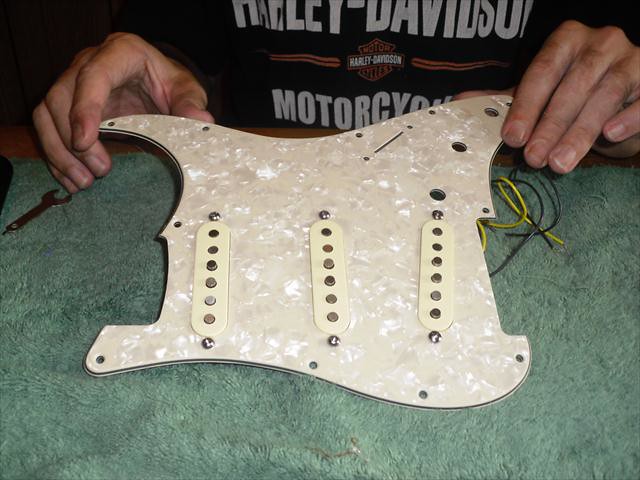
I started by removing the Fender aged white pickup covers and knobs I previously installed in the Bullet’s pickguard and installing them, with the new Fender Tex-Mex pickups, in the new aged pearl pickguard from dragonfire.
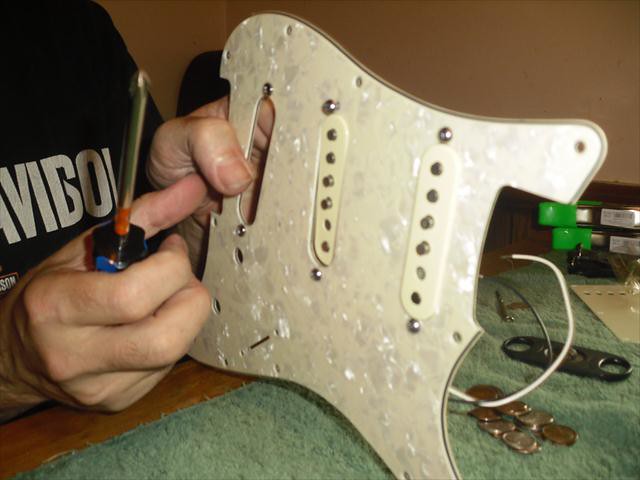
I have decided that I really like the surgical tubing “springs” that come with the Fender pickups. My hands are starting to get a little arthritic and clumsy at times, so I had some trouble controlling the springs when I changed the covers on the stock Bullet pickups. The tubing held the screws in place for me while I dealt with the pickups, making it a whole lot easier. The pickups also stay straighter once they’re installed.
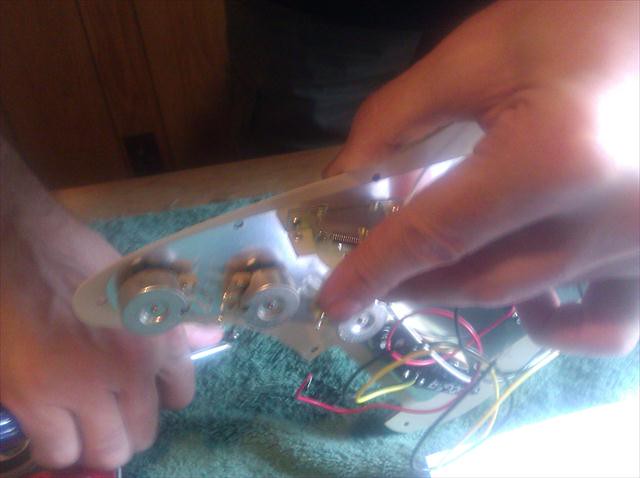
Once I got all of the pickups in, I added the full-size CTS pots and CRL 5-way switch. I cleaned the oxidation off the foil around the holes with a pencil eraser before I put the pots in, so the housings can make solid electrical contact with the pickguard shielding.
I printed out the Jimmie Vaughan wiring diagram from the support section of the Fender website (http://www.fender.com/support/articles/?section=downloads&category=stringed-instruments-service-diagrams) for reference. The Jimmie Vaughan wiring is slightly different than standard Stratocaster wiring. It has a master volume control, and tone controls for the neck and bridge pickups (no tone control on the middle pickup). The bridge tone control will help tame the hotter bridge pickup.
I followed the diagram, starting by wiring the pickups to the switch.
I worked my way through the diagram carefully, one wire at a time.

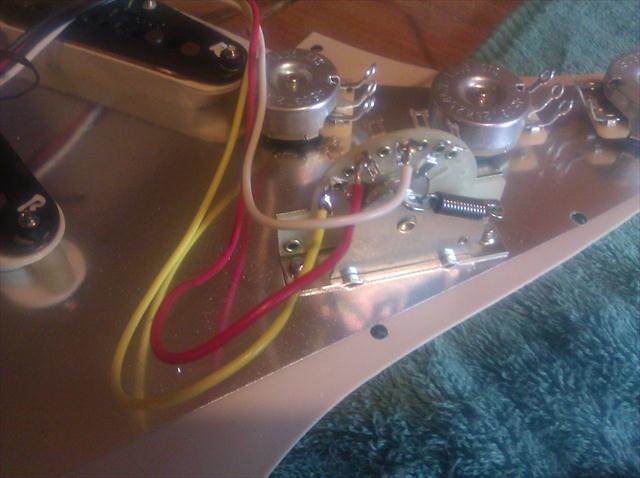
Here you can see the tone cap. One lead is soldered to a contact on the pot, the other end will be soldered to the pot housing, along with a ground wire connecting all three potentiometer housings.
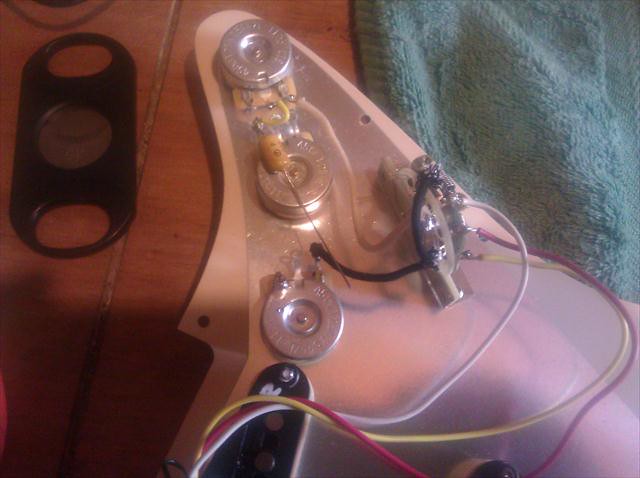
Finally, all of the circuits are connected. The only wires left are the output wires that will lead to the jack.

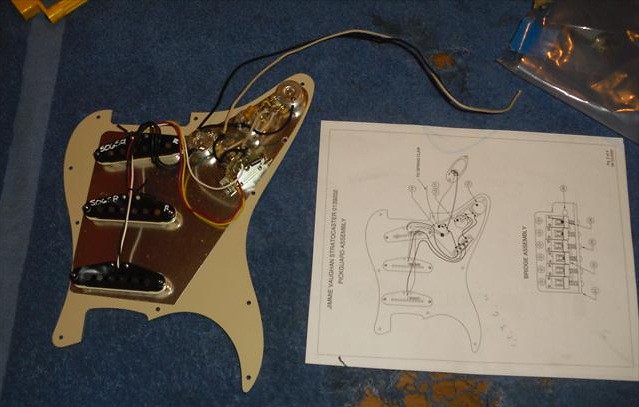
Once the output wires were attached, I laid the loaded pickguard on the table next to the wiring diagram and double-checked each wire on the diagram to make sure I didn’t miss anything. An extra set of eyes and hands (my son’s) helped out a lot.
Now that the wiring’s done, I have a fully loaded pickguard with hot Fender pickups ready to install in the body.
(Fender,® Squier,® Stratocaster® and Bullet Strat® are registered trademarks of Fender Musical Instrument Company).

Thanks for sharing. Great photos showing detail. I’ve also done an upgrade to a Squier Bullet with Tex-Mex pups and all new electronics. What did you do about the fact that the Bullet body is thinner than a standard Strat? This makes the routed space for the electronics less deep such that the bottom of the 5-way switch comes in contact with the bottom of the cavity. And you have the traditional Fender switch which is even taller than the import switches – so the pickguard will definitely not sit flush. Then there’s the problem of the contacts shorting out on the copper foil lining you installed. I used an import style switch which is not as tall and routed a slot in the bottom of the cavity under the switch so the contacts wouldn’t touch the foil. I also had to rout some of the wood on the side nearest the pots to make room since my new ones are full-sized – not like the mini pots that came with the Bullet.
I’m not sure if there is a difference in cavity depth between the Bullet and a USA or Mexican Strat, but in the next post, “Final Assembly and Testing Stratocaster® Electronics,” I did run into an issue with one contact on the 5-way switch grounding out to the foil in the bottom of the cavity. I lightly bent the offending switch contact up (less than 1/16″), and it fixed the problem for me. I didn’t have to do any modification to the control cavities, and the Fender USA switch and CTS pots fit and work perfectly.
Sorry. I just finished reading through all of your posts regarding this project on your blog. I’m new to blogging and didn’t realize that the entire site is yours! It’s great. I thought you had made just the one post about the Tex Mex. So now I have more background on your project. My Bullet was made in 2002 and is very different dimensionally from your 2010 model. Mine started out as a hardtail – no tremolo, which is what I was looking for so I could do a Kahler trem install. It is a full 5/16″ thinner than a standard Squier. I think you stated that yours is about 1/10″ thinner. The routing on my guitar is also the giant “swimming pool” style that can accommodate any pickup arrangement (SSS, HSS, HH, HSH). Since its so thin, the depth of the routing is much less than yours. I chose to video tape my project and hope to share it at some point. BTW my guitar was a complete piece of junk that I bought for $25 on Craigslist! But as you mentioned, the neck is the key and it was in decent shape. Keep up the good work! SteveO
Excellent article. Brief, succinct, informative. Great images, as well. I just bought a set of these same pickups for my LEFT-HANDED Affinity series Squier Strat. To your knowledge, is any of the wiring different for left-hand vs. right-hand? Seems to me both should be identical but I’d like to know before beginning. Thanks, -Richard
Since there is no “off” position, the switch works in either direction. The wiring should be identical, except mirror image. If I were you, I would flip the image of the wiring diagram and print it reversed. It will be much easier to follow that way.
I really recommend the Jimmie Vaughan wiring, with the tone controls on the neck and bridge pickups and the open middle pickup.